
Affiliate Disclaimer: This page may include affiliate links, which help support our site at no additional charge to you.
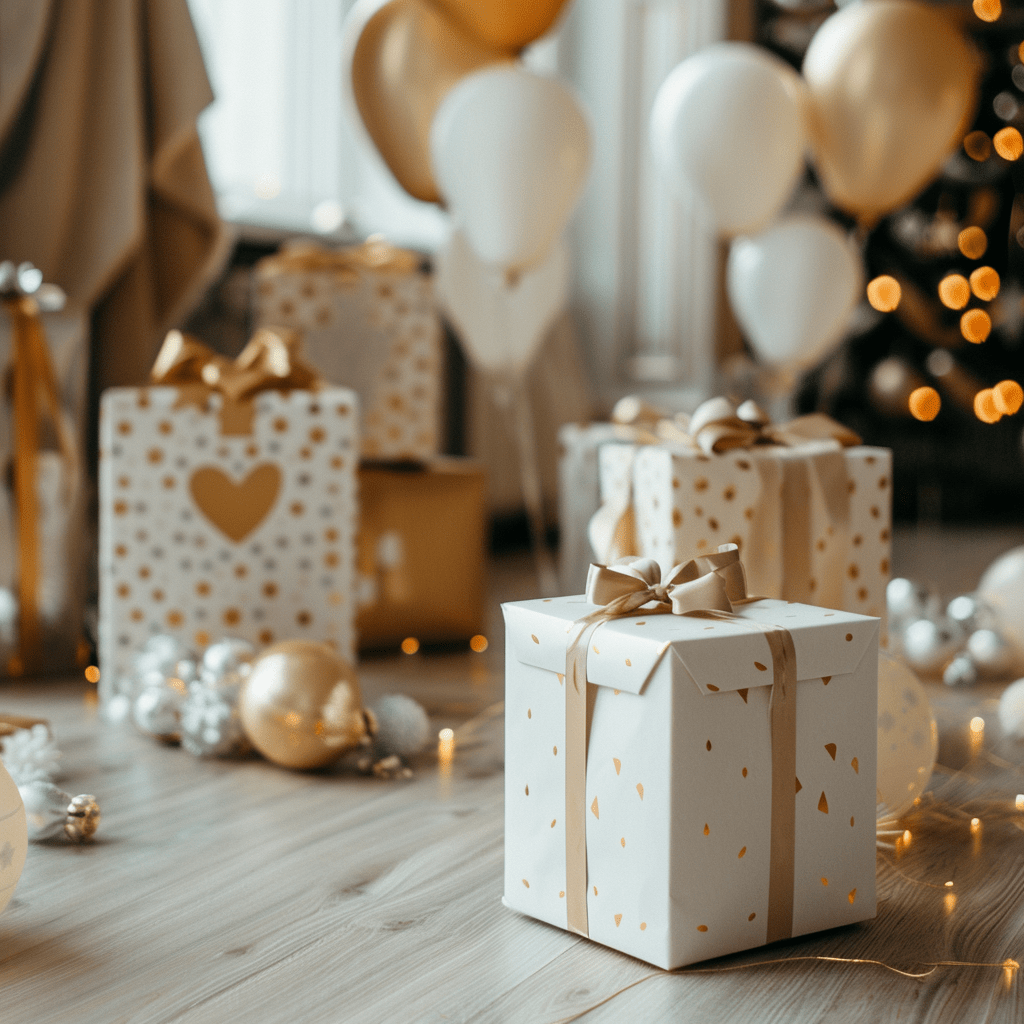
Gift wrapping is an art form that adds a personal touch to every present you give. Whether it’s a birthday, a holiday, or a special occasion, how a gift is presented can make it even more memorable. This guide will focus on specific techniques, especially how to wrap a candle, a book, bottles, and mugs, the most common yet sometimes tricky shapes.
How to Wrap a Present?
Wrapping a present neatly and attractively can make giving even more special. Here’s a straightforward guide on how to wrap a gift professionally:
Materials Needed:
- Wrapping paper
- Scissors
- Tape (clear tape or double-sided tape)
- Ribbon (optional)
- Gift tag (optional)
- Bow or decorative embellishments (optional)
1. Measure and Cut the Wrapping Paper
Lay the wrapping paper out on a flat surface. Place the gift on the paper to gauge how much you’ll need. Ensure you have enough paper to cover all sides of the box with a little extra for overlap. The paper should be long enough to go over the box with an additional third on each side for adequate coverage. Cut the paper neatly along a straight line.
2. Wrap the Gift
Place the gift face down in the center of your cut paper. Pull one side of the paper over the box, taping it in the middle. Pull the other side of the paper tightly over the first piece so the edges lie flat and smooth, and secure it with tape. This method ensures the seams are neat and centered on one side of the box.
3. Fold and Secure the Ends
At each end of the box, push the sides of the paper inward, creating four flaps at the top and bottom of each side. Flatten the top and bottom flaps against the box, making sharp creases. Fold the top flap down against the box and crease, then bring the bottom flap up and crease. Tape securely. Repeat on the other side.
4. Add Ribbon and Bows
To add a ribbon, wrap it around the box either widthwise, lengthwise, or both, securing it on the bottom of the box where the paper seam rests. Flip the box over and tie a knot or a bow on the top, adjusting to ensure it’s centered. You can also add a ready-made bow instead of tying one for convenience.
5. Attach a Gift Tag
Place a gift tag or a small card with a personal message or the recipient’s name. If no ribbon is used, you can thread the tag with the ribbon before tying your bow or stick it onto the paper.
6. Final Touches
Check the wrapped gift for any loose edges or corners needing more tape. Smoothing out all edges for a neat finish can make a big difference in the overall appearance.
Additional Tips:
- Use double-sided tape for a cleaner look, as it hides the tape between the paper layers.
- When choosing wrapping paper, consider a thicker, high-quality paper that won’t tear easily during wrapping.
- To add a unique touch, personalize the wrapping with custom decorations, such as dried flowers, custom stickers, or a hand-drawn design.
Wrapping a gift well shows care and thought, enhancing the joy of giving and receiving. Whether wrapping a simple, small box or a large, awkwardly shaped item, these steps can help you achieve a beautifully packaged present.
How to Wrap a Candle?

Wrapping a candle, mainly cylindrical or jar-shaped, can be a delightful and thoughtful way to present a gift. Here’s a step-by-step guide to help you wrap a candle elegantly:
1. Choose the Right Paper
Select a wrapping paper that’s sturdy enough to handle without tearing but pretty enough to make an impact. If your candle is in a jar, tissue paper can also be a chic and softer alternative.
2. Measure and Cut the Paper
Place the candle in the center of your wrapping paper. Ensure you have enough paper around the candle and overlap a little. The paper should be long enough to extend a few inches beyond the top and bottom of the candle.
3. Wrap the Sides
Roll the paper around the circumference of the candle. Secure the edge with tape. Ensure the seam where the paper meets is neatly aligned and placed on the back of your candle.
4. Secure the Top and Bottom
To handle the excess paper at the top and bottom, you can use one of two methods:
- The Pleating Method: Fold the paper at the top down into the center of the candle’s top, creating pleats around the circle. Secure each pleat with tape as you go around. Repeat the process on the bottom.
- The Gathering Method: Gather the paper around the top in a bunch and tie it with a ribbon. This works particularly well with softer papers like tissue. Repeat on the bottom if desired, or fold the bottom edges under the base of the candle and tape securely.
7. Add Finishing Touches
Decorate with ribbons, bows, or a decorative tag. For a festive touch, add embellishments like dried flowers, cinnamon sticks, or a sprig of holly.
8. Attach a Gift Tag
Remember to attach a personalized gift tag to your beautifully wrapped candle. Write a heartfelt message or simply the recipient’s name.
Wrapping a candle carefully shows attention to detail and makes your gift even more unique, whether for a holiday or a birthday. A well-wrapped candle is always a warm and welcome gesture.
How to Wrap a Book?

Wrapping a book is a classic gift-wrapping challenge, but with a few simple steps, you can make any book look stunning. Here’s a straightforward guide to wrapping a book beautifully:
Materials Needed:
- Wrapping paper
- Scissors
- Clear tape
- Ribbon (optional)
- Gift tag (optional)
1. Measure and Cut the Wrapping Paper
Lay the book on the wrapping paper. Ensure that you have enough paper to cover the entire book. When measured, the paper should be slightly wider than the book on all sides, extending about twice the height of the book. Cut the paper accordingly.
2. Wrap the Book
Place the book face down in the center of your cut wrapping paper. Pull one side of the paper to the edge of the book’s cover and secure it with tape. Bring the other side over, tucking in any excess paper as needed to ensure it lies flat and smooth against the book, then tape it down.
3. Fold the Ends
There will be flaps of paper sticking out at the top and bottom of the book. Fold these flaps down against the book’s top and bottom, pressing the paper against the edges to create two triangular wings on either side. Fold these wings towards the center of the book’s edge, creating a neat, sharp crease. Tape the triangle to secure it, then repeat the process on the other side.
4. Add Decorative Elements
To give the wrapped book a more festive or personalized touch:
- Consider adding a ribbon.
- Place the book face down and wrap the ribbon around it, crossing the ribbon at the book’s bottom and then bringing the ends to the top.
- Tie a bow, and if you have a gift tag, thread it onto the ribbon before tying the bow.
5. Final Touches
Adjust the ribbon and ensure all tape is securely applied. To customize the gift further, you can add additional decorative elements like a sprig of holly, a small ornament, or stickers.
Tips for Perfect Wrapping:
- Choose thicker wrapping paper as it’s less likely to tear when folding.
- Use double-sided tape for a cleaner look, as it can be hidden between the layers of paper.
- Be precise with your folds and creases to wrap the book professionally.
Wrapping a book shows care and attention, making the gift even more special for the recipient. With these steps, your gift will look as good on the outside as the content is on the inside!
How to Wrap a Wine Bottle?

Wrapping a wine bottle elegantly can add a personal touch to your gift, transforming it from a simple bottle to a thoughtful present. Here’s how you can wrap a wine bottle beautifully, suitable for any occasion:
Materials Needed:
- Tissue paper or decorative wrapping paper
- Clear tape
- Ribbon
- Gift tag (optional)
- Decorative embellishments (optional, e.g., flowers, charms)
1. Choose Your Paper
Due to its flexibility, tissue paper works wonderfully for wrapping wine bottles, but you can also use decorative wrapping paper for a sturdier option. Choose a color or pattern that fits the occasion.
2. Wrap the Bottle
Lay out your chosen paper on a flat surface. Place the wine bottle in the center at an angle. Bring one corner of the paper up to start covering the bottle, and then continue rolling the bottle across the paper until it’s fully enveloped. Ensure the paper overlaps so you can tape it securely—tape along the seam where the paper meets.
3. Secure the Top
Gather the excess paper at the neck of the bottle, twisting slightly as you go to conform to the bottle’s shape. Secure it with a piece of tape or a rubber band, ensuring it holds tightly. This method highlights the bottle’s neck and adds an elegant touch.
4. Add a Ribbon
Choose a ribbon that complements the paper. Tie the ribbon around the neck of the bottle over your tape or rubber band. You can tie a simple bow or create a more elaborate bow, depending on your preference.
5. Attach a Gift Tag
If you have a gift tag, thread it onto the ribbon before tying your bow. Write a personal message or simply the recipient’s name to add a personal touch.
6. Add Final Touches
Consider adding decorative embellishments like artificial flowers, small baubles, or a charm to the ribbon. These small additions can make your gift stand out and feel more personalized.
Tips for a Professional Look:
- Choose high-quality paper that won’t rip easily as you wrap.
- Coordinate the colors of your paper, ribbon, and embellishments.
- Practice neatness in your taping and ribbon tying for a clean, polished look.
Wrapping a wine bottle can be a fun and creative process. With these steps, you’ll be able to present a beautifully wrapped bottle that’s sure to impress any recipient, enhancing the gesture of giving with a personal and artistic touch.
How to Wrap a Mug?

Wrapping a mug can be tricky due to its handle, but with the proper technique, you can create a beautifully packaged gift that’s sure to impress. Here’s a step-by-step guide on how to wrap a mug effectively:
Materials Needed:
- Wrapping paper
- Tissue paper (optional)
- Scissors
- Tape
- Ribbon
- Gift tag (optional)
1. Select the Right Paper
Choose a wrapping paper that is flexible and not too thick, as this will make it easier to manage around the mug’s handle. A festive or decorative pattern can add a special touch.
2. Measure and Cut the Paper
Lay the mug on its side on the wrapping paper and measure enough paper to completely surround it, allowing for an extra inch for overlap. Make sure there’s enough paper to cover the top and bottom of the mug. Cut the paper to size.
3. Wrap the Body of the Mug
Place the mug in the center of the paper. Bring one edge of the paper up and over the mug, tucking it under the handle. Tape this edge to the body of the mug to secure it in place. Then, bring the other edge over the first, completely encircling the mug, and tape it securely, making sure the seam is under the handle for a neat finish.
4. Secure the Top and Bottom
To cover the top and bottom of the mug, use the fan-folding method:
- For the bottom, gently push the paper down around the base of the mug, creating pleats that radiate around the base. Tape as you go to hold the pleats in place.
- Turn the mug upright and repeat the process on the top, folding the paper around the rim of the mug. However, be mindful of the handle. You should make adjustments or cuts to accommodate it.
5. Add Tissue Paper (Optional)
Place a sheet of tissue paper inside the mug before wrapping it for extra padding and a more refined look. You can also stuff the inside of the mug after it’s wrapped, peeking out for a decorative effect.
6. Decorate with Ribbon
Wrap a ribbon around the mug, securing it with a bow. If the handle obstructs the ribbon, you can tie the bow directly under the handle or use a smaller ribbon to tie around the handle itself.
7. Attach a Gift Tag
Complete the wrapping by attaching a gift tag with a personalized message or the recipient’s name. This can be tied to the ribbon or stuck onto the wrapping paper.
Tips for a Neat Presentation:
- Use double-sided tape for a cleaner look, as it can be hidden between layers of paper.
- Be gentle when folding and taping around the mug’s handle to avoid tearing the paper.
Carefully and creatively wrapping a mug protects your gift and turns it into a delightful surprise for any occasion. Whether for a birthday, holiday, or just because, a beautifully wrapped mug will surely warm your recipient’s heart.

Leave a Reply